springboot整合swagger3-简单使用
2022年7月26日
创建好springboot项目以后,导入swagger依赖:
		<dependency>
            <groupId>io.springfox</groupId>
            <artifactId>springfox-boot-starter</artifactId>
            <version>3.0.0</version>
        </dependency>
启动类加注解:
@EnableOpenApi
现在启动,会报错,使用springboot2.6.0后,配置swagger,不论是2.9.2还是3.0.0都报错
需要在配置文件加入:
 spring:
  mvc:
    pathmatch:
      matching-strategy: ant_path_matcher
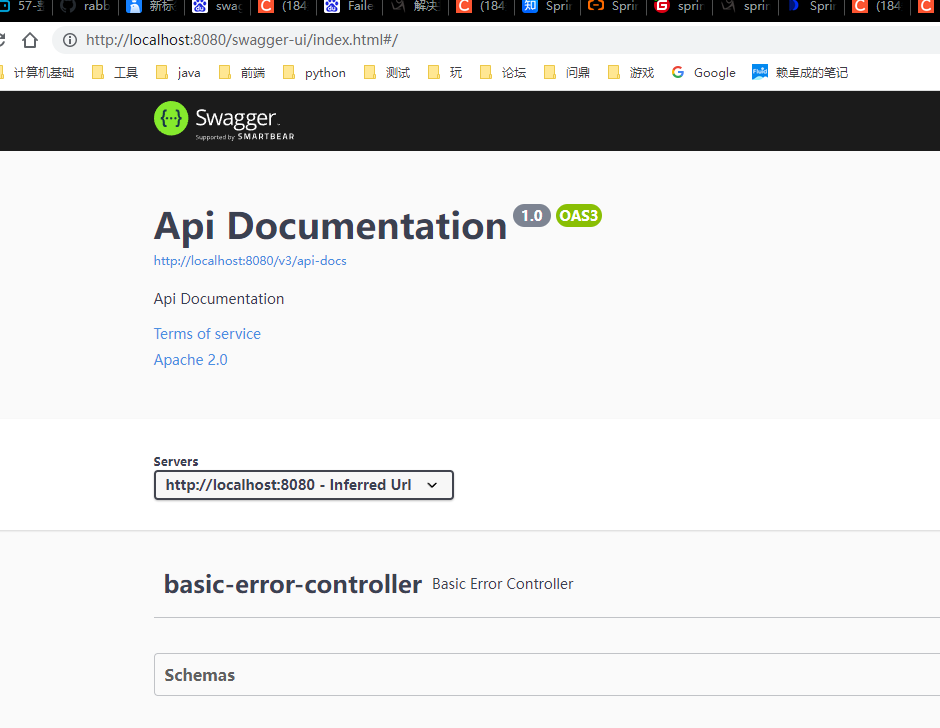
加入后,启动成功。可以进入swagger-ui项目下的/swagger-ui/index.html查看接口
稍微添加一下配置类:
/**
 * swagger3配置
 *
 * @author lzc
 * @date 2022/08/22
 */
@Configuration
public class Swagger3Configuration {

    @Bean
    public Docket docket(Environment environment) {
//        Profiles profiles = Profiles.of("dev", "test");
//        // 判断是否处于自己设置的环境中
//        boolean flag = environment.acceptsProfiles(profiles);

        return new Docket(DocumentationType.SWAGGER_2)
            .apiInfo(apiInfo())
            // 根据环境是否开启swagger
            .enable(true)
            .groupName("rabbitmq")
            .select()
            //RequestHandlerSelectors配置要扫描接口的方式
            //basePackage() 扫描指定路径下的包
            //any() 扫描所有
            //none() 都不扫描
            //withClassAnnotation()扫描指定的注解
            // GetMapping()扫描方法上的注解
            .apis(RequestHandlerSelectors.basePackage("com.lzc.rabbit.controller"))
//                过滤掉一些路径扫描
//                .paths(PathSelectors.ant("/test/**"))
            .build()
                            /* 设置安全模式,swagger可以设置访问token */
                .securitySchemes(securitySchemes())
                .securityContexts(securityContexts());
            ;
    }

    /**
     * 配置swagger信息apiInfo,作者信息
     */
    public ApiInfo apiInfo() {
        Contact contact = new Contact("赖卓成", "https://www.iocaop.com/", "911823616@qq.com");
        return new ApiInfo("swaggerApi文档测试",
            "...",
            "1.0",
            "www.iocaop.com",
            contact,
            "Apache 2.0",
            "http://localhost:8080/test/admin",
            new ArrayList());
    }
}
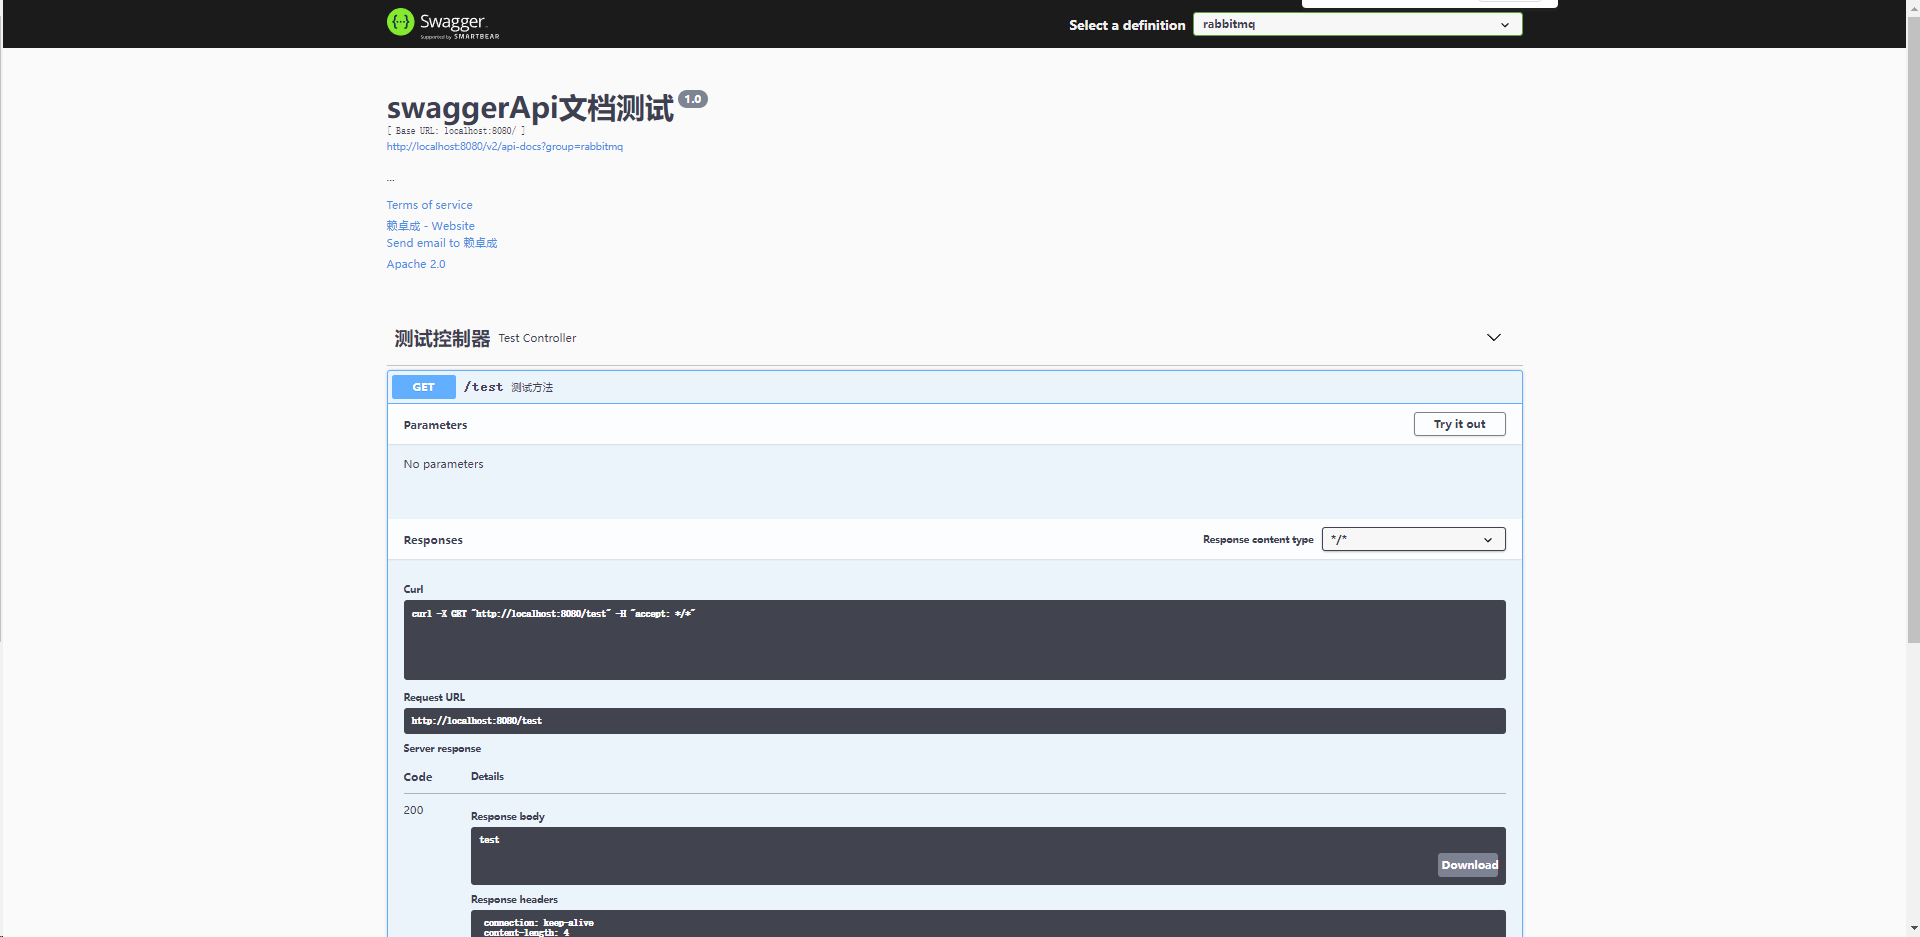
写一个测试controller:
/**
 * 测试控制器
 *
 * @author lzc
 * @date 2022/08/22
 */
@RestController
@RequestMapping("/test")
@Api(tags = "测试控制器")
public class TestController {

    @GetMapping
    @ApiOperation("测试方法")
    public String test() {
        return "test";
    }
}
启动即可看见效果:
如果报错尝试加上该Bean:
    /**
     * 增加如下配置可解决Spring Boot 6.x 与Swagger 3.0.0 不兼容问题
     **/
    @Bean
    public WebMvcEndpointHandlerMapping webEndpointServletHandlerMapping(WebEndpointsSupplier webEndpointsSupplier,
                                                                         ServletEndpointsSupplier servletEndpointsSupplier, ControllerEndpointsSupplier controllerEndpointsSupplier,
                                                                         EndpointMediaTypes endpointMediaTypes, CorsEndpointProperties corsProperties,
                                                                         WebEndpointProperties webEndpointProperties, Environment environment) {
        List<ExposableEndpoint<?>> allEndpoints = new ArrayList();
        Collection<ExposableWebEndpoint> webEndpoints = webEndpointsSupplier.getEndpoints();
        allEndpoints.addAll(webEndpoints);
        allEndpoints.addAll(servletEndpointsSupplier.getEndpoints());
        allEndpoints.addAll(controllerEndpointsSupplier.getEndpoints());
        String basePath = webEndpointProperties.getBasePath();
        EndpointMapping endpointMapping = new EndpointMapping(basePath);
        boolean shouldRegisterLinksMapping = this.shouldRegisterLinksMapping(webEndpointProperties, environment, basePath);
        return new WebMvcEndpointHandlerMapping(endpointMapping, webEndpoints, endpointMediaTypes, corsProperties.toCorsConfiguration(),
                new EndpointLinksResolver(allEndpoints, basePath), shouldRegisterLinksMapping, null);
    }

    private boolean shouldRegisterLinksMapping(WebEndpointProperties webEndpointProperties, Environment environment, String basePath) {
        return webEndpointProperties.getDiscovery().isEnabled() && (StringUtils.hasText(basePath) || ManagementPortType.get(environment).equals(ManagementPortType.DIFFERENT));
    }
如果整合SpringSecurity会出现死循环问题,需要在Security配置中加入以下代码,参考:点击跳转
    @Override
    public void configure(WebSecurity web) throws Exception {
        web.ignoring()
                .antMatchers("/error/**", "/h2-console/**","/swagger-ui.html",
                        "/swagger-ui/*",
                        "/swagger-resources/**",
                        "/v2/api-docs",
                        "/v3/api-docs")

//                .mvcMatchers("/auth/**");
                // 参数里面的是写好的静态资源一般存放的路径,不需要我们手动来写了
                .requestMatchers(PathRequest.toStaticResources().atCommonLocations());
    }
如果需要携带token进行访问接口,swagger配置类加如下代码:
参考:点击跳转
    /**
     * 默认的安全上引用
     */
    private List<SecurityReference> defaultAuth()
    {
        AuthorizationScope authorizationScope = new AuthorizationScope("global", "accessEverything");
        AuthorizationScope[] authorizationScopes = new AuthorizationScope[1];
        authorizationScopes[0] = authorizationScope;
        List<SecurityReference> securityReferences = new ArrayList<>();
        securityReferences.add(new SecurityReference("Authorization", authorizationScopes));
        return securityReferences;
    }


    /**
     * 安全上下文
     */
    private List<SecurityContext> securityContexts()
    {
        List<SecurityContext> securityContexts = new ArrayList<>();
        securityContexts.add(
                SecurityContext.builder()
                        .securityReferences(defaultAuth())
                        .operationSelector(o -> o.requestMappingPattern().matches("/.*"))
                        .build());
        return securityContexts;
    }

    /**
     * 安全模式,这里指定token通过Authorization头请求头传递
     */
    private List<SecurityScheme> securitySchemes()
    {
        List<SecurityScheme> apiKeyList = new ArrayList<SecurityScheme>();
        apiKeyList.add(new ApiKey("Authorization", "Authorization", In.HEADER.toValue()));
        return apiKeyList;
    }
Loading...